

Instruction:

Materials you will need:
- The template
- Scissors
- Glue
- Ribbon/ string
- A hole punch
- A craft knife (optional)
- A cutting mat (only if you are using a knife)
- Markers in corresponding colours (optional)


Once you have the template printed out, go ahead and cut out all of the
pieces on the first page. Make sure that you also cut the circular
pieces into spirals.


Take your two spiral pieces and line them up with one another, you want
the coloured sides to face outward. Then glue them together, start at
one end and make your way to the opposite end. After they're glued
together you might want to go back and trim any excess that might hang
over. Then you can go over the edges with a marker in a corresponding
colour to get rid of any white edges, this will make the ornament neater
looking, especially if you are using thicker paper.


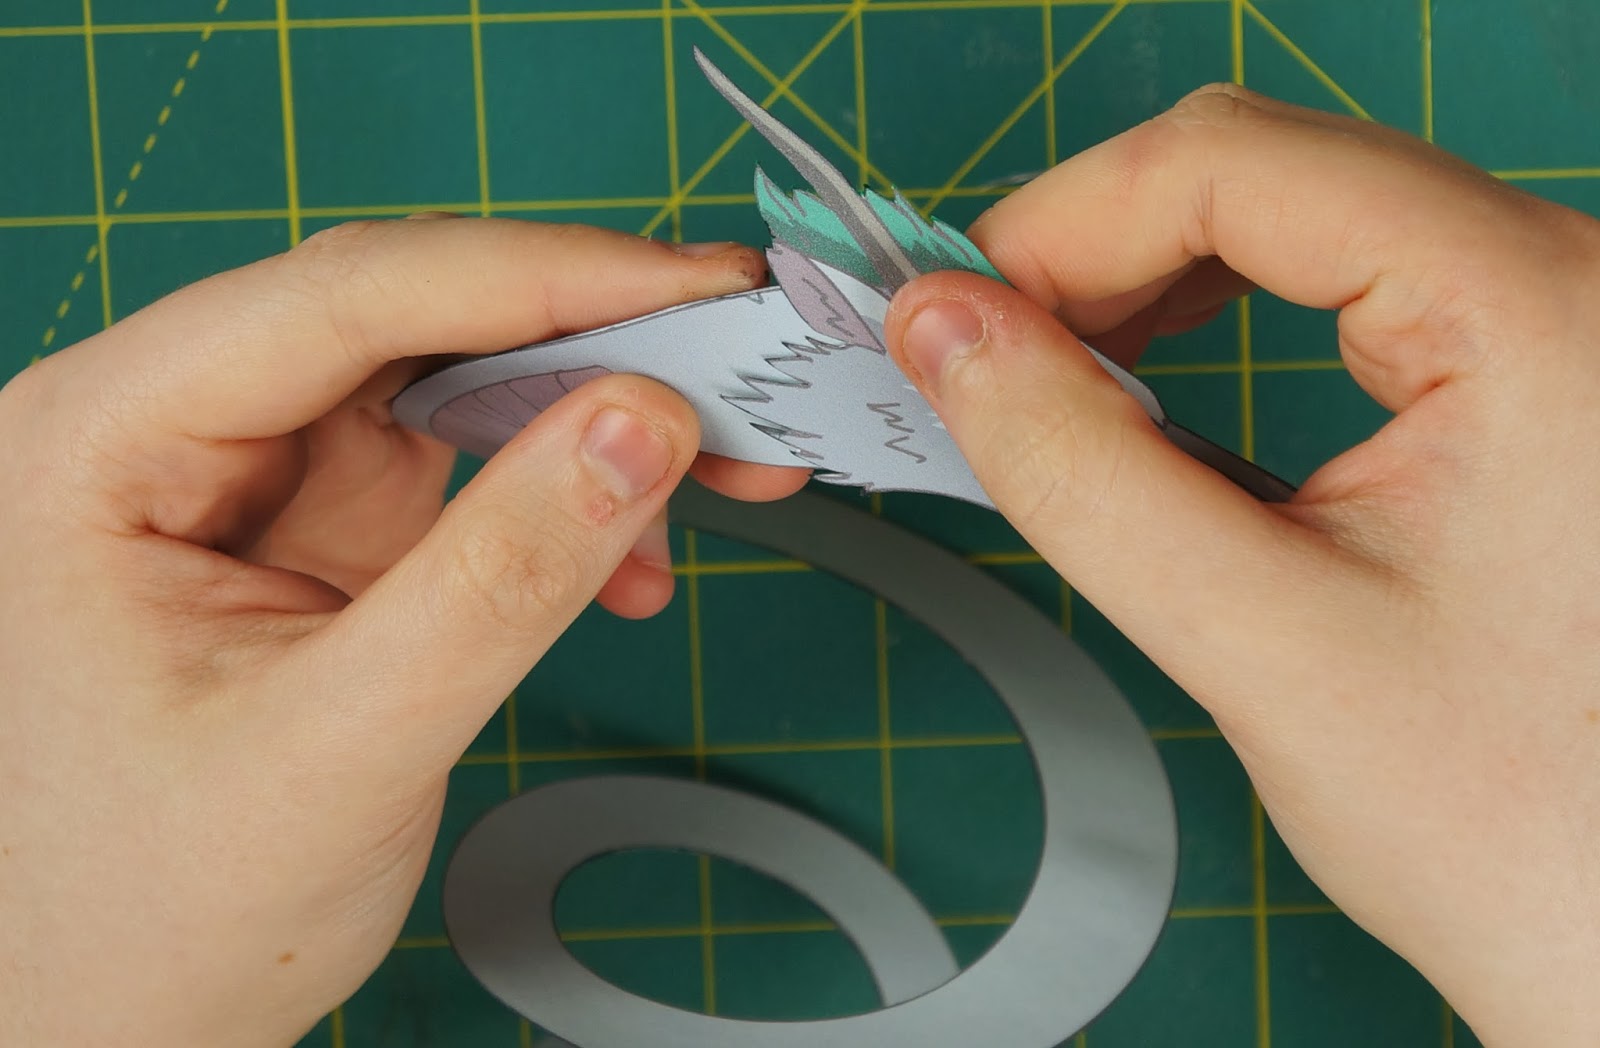
Hold your spiral at either end and gently pull to loosen the coil. Then
bend back the end of the larger end of the spiral so that it's straight.
Bend it back just before the stomach scales start.


Put some glue at the end of the spiral and glue one of the face pieces
on. Make sure to line up the bottom of the mane with the side edge of
the spiral. Then line up and attach the other face piece to the other
side and to the back of the already attached face piece. Then you can
trim any excess if needed, and go along the edges with makers.


Now cut out all of page 2, the rest of the pieces. Make sure not to
cut off the light blueish strip at the bottom of the mane pieces. Then
again, if you want you can go along the edges of the pieces with a
marker.


Start off with the tail pieces, you want to glue the mane tail piece to
the side thats curving the same way. Line it up so that the triangle cut
out on the tail mane lines up to the edges of the tail spiral, then
glue it on to the end. Do the same for the other tail mane piece on the
other side.


Now take the largest pieces of the main (they're the ones that are
curved at one end and have a tab on the other) and fold the light blue
strip at the bottom back (fold it towards the coloured part of the
mane). Do the same for both pieces, then glue them onto one another,
back to back so that the coloured side faces outward. Don't glue the
light blue strips together though.


Fold the medium sized mane pieces the same way as the larger ones. Then
put some glue on one of the tabs at the end of the larger pieces and
glue the medium size piece for the same side to it. Then glue the other
medium piece to the other side, again, make sure not to glue the light
blue strips together.


Fold the light blue strips on the last 2 mane pieces (the smallest) the
same way as the other ones. Then glue those to the tabs on the medium
mane pieces and then to one another.


When you have the mane all glued together, start making slits along the
light blue strips on either side of the mane. Cut the slits closer
together as you get closer to the smaller end of the mane.


Now it's time to glue the mane to the body. Put some glue down the
center of Haku's back (the plain side of the spiral) and glue the
slitted light blue strips to the body. It's easier if you work in
sections so don't try and glue it all down at once. Work your way around
the spiral until you run out of mane.


When you have the mane completely glued on, take your hole punch and
punch a hole into the middle front part of Haku's mane. Then cut some
ribbon or string and thread it through the hole and tie the two ends
together.

There you have your finished dragon Haku ornament!
No comments:
Post a Comment